Python: 파이썬에서 그래프QL사용해보기. (GraphQL with Flask)
GraphQL
GraphQL은 페이스북이 개발한 데이터 질의어다. Facebook의 graph API를 사용해 본 사람이라면 구조가 꽤나 친숙할 수 있다. 회사 특성상, Facebook과의 접점이 많은 나에겐 당장 사용해보고 싶었다. 그래프QL은 따로 API를 제작하지 않아도, 사용자가 어떤 데이터가 필요한지 명시하는 것만으로 원하는 데이터를 얻거나 컨트롤 할 수 있다.
- 소스는 graphql-python을 참고하면 된다. 해당 소스를
git clone후examples/flask_sqlalchemy를 참고하였다.
Install & Run
1) 설치를 진행해보자. 가상환경에서 해당 패키지들을 pip install -r requirements.txt 하면된다.
$ cat requirements.txt
graphene[sqlalchemy]
SQLAlchemy==1.0.11
Flask==0.10.1
Flask-GraphQL==1.3.0
2) app.py
# app.py
from flask import Flask

from database import db_session, init_db
from flask_graphql import GraphQLView
from schema import schema

app = Flask(__name__)
app.debug = True

app.add_url_rule('/graphql', view_func=GraphQLView.as_view('graphql', schema=schema, graphiql=True))

@app.teardown_appcontext
def shutdown_session(exception=None):
    db_session.remove()

if __name__ == '__main__':
    init_db()
    app.run()
-
- init_db()
- 테스트를 진행하기 위한 모듈들을 만들어준다. 실제로 프로젝트에 적용시킬 경우에는 필요가 없다.
-
- app.add_url_rule(‘/graphql’, view_func=GraphQLView.as_view(‘graphql’, schema=schema, graphiql=True))
/graphql이라는 path를 만들어주고,schema=schema로GraphQlSchema객체를 넣어주었다. 그리고graphiql=True로 브라우저 view를 이용하는 걸 명시해주는 부분이다.
2) database.py
from sqlalchemy import create_engine
from sqlalchemy.ext.declarative import declarative_base
from sqlalchemy.orm import scoped_session, sessionmaker

engine = create_engine('sqlite:///database.sqlite3', convert_unicode=True)
db_session = scoped_session(sessionmaker(autocommit=False,
                                         autoflush=False,
                                         bind=engine))
Base = declarative_base()
Base.query = db_session.query_property()


def init_db():
    # import all modules here that might define models so that
    # they will be registered properly on the metadata.  Otherwise
    # you will have to import them first before calling init_db()
    from models import Department, Employee, Role
    Base.metadata.drop_all(bind=engine)
    Base.metadata.create_all(bind=engine)

    # Create the fixtures
    engineering = Department(name='Engineering')
    db_session.add(engineering)
    hr = Department(name='Human Resources')
    db_session.add(hr)

    manager = Role(name='manager')
    db_session.add(manager)
    engineer = Role(name='engineer')
    db_session.add(engineer)

    peter = Employee(name='Peter', department=engineering, role=engineer)
    db_session.add(peter)
    roy = Employee(name='Roy', department=engineering, role=engineer)
    db_session.add(roy)
    tracy = Employee(name='Tracy', department=hr, role=manager)
    db_session.add(tracy)
    db_session.commit()
데이터베이스를 정의하고, 테스트할 정보를 넣어주는 코드가 되겠다.
-
- create_engine(‘sqlite:///database.sqlite3’, convert_unicode=True)
- 이용할 데이터베이스 정보를 넣어주면 되겠다. 테스트 목적이기 때문에, 수정없이 진행하였다.
3) models.py
from sqlalchemy import Column, DateTime, ForeignKey, Integer, String, func
from sqlalchemy.orm import backref, relationship

from database import Base


class Department(Base):
    __tablename__ = 'department'
    id = Column(Integer, primary_key=True)
    name = Column(String)


class Role(Base):
    __tablename__ = 'roles'
    role_id = Column(Integer, primary_key=True)
    name = Column(String)


class Employee(Base):
    __tablename__ = 'employee'
    id = Column(Integer, primary_key=True)
    name = Column(String)
    # Use default=func.now() to set the default hiring time
    # of an Employee to be the current time when an
    # Employee record was created
    hired_on = Column(DateTime, default=func.now())
    department_id = Column(Integer, ForeignKey('department.id'))
    role_id = Column(Integer, ForeignKey('roles.role_id'))
    # Use cascade='delete,all' to propagate the deletion of a Department onto its Employees
    department = relationship(
        Department,
        backref=backref('employees',
                        uselist=True,
                        cascade='delete,all'))
    role = relationship(
        Role,
        backref=backref('roles',
                        uselist=True,
                        cascade='delete,all'))
sqlalchemy의 모델이다.
4) schema.py <- 제일 중요하다.
import graphene
from graphene import relay
from graphene_sqlalchemy import SQLAlchemyConnectionField, SQLAlchemyObjectType, utils
from models import Department as DepartmentModel
from models import Employee as EmployeeModel
from models import Role as RoleModel

class Department(SQLAlchemyObjectType):
    class Meta:
        model = DepartmentModel
        interfaces = (relay.Node, )

class DepartmentCon(relay.Connection):
    class Meta:
        node = Department

class Role(SQLAlchemyObjectType):
    class Meta:
        model = RoleModel
        interfaces = (relay.Node, )

class RoleCon(relay.Connection):
    class Meta:
        node = Role

class Query(graphene.ObjectType):
    node = relay.Node.Field()

    role = graphene.List(Role, role_id=graphene.Int(required=True))
    def resolve_role(self, info, **kwargs):
        role_query = Role.get_query(info)
        return role_query.filter(RoleModel.role_id.contains(kwargs.get('role_id')))

    # Allows sorting over multiple columns, by default over the primary key
    all_roles = SQLAlchemyConnectionField(RoleCon)

    # Disable sorting over this field
    all_departments = SQLAlchemyConnectionField(DepartmentCon, sort=None)

schema = graphene.Schema(query=Query, types=[Department, Role])
graphQL의 핵심과 같은 부분이다. 클론한 소스로 python app.py하면, 아마 오류를 뿜뿜할 것이다. 상기 코드를 참고하면 된다.
AssertionError: Found different types with the same name in the schema
이 에러는 backref로 의존성관계를 명시해둔 모델이 있을경우 발생한다. 따라서 Connection이라는 네이밍을 Con이라던지 다른 값으로 바꾸면 간단히 해결할 수 있다.
5) 세팅은 완료되었다. 한번 실행시켜보자.
$ python app.py
 * Running on http://127.0.0.1:5000/ (Press CTRL+C to quit)
 * Restarting with stat
 * Debugger is active!
 * Debugger PIN: 227-441-302
정상 동작을 확인하였다.
6) 이제 그래프QL을 사용해보자. http://localhost:5000/graphql로 이동해보자.
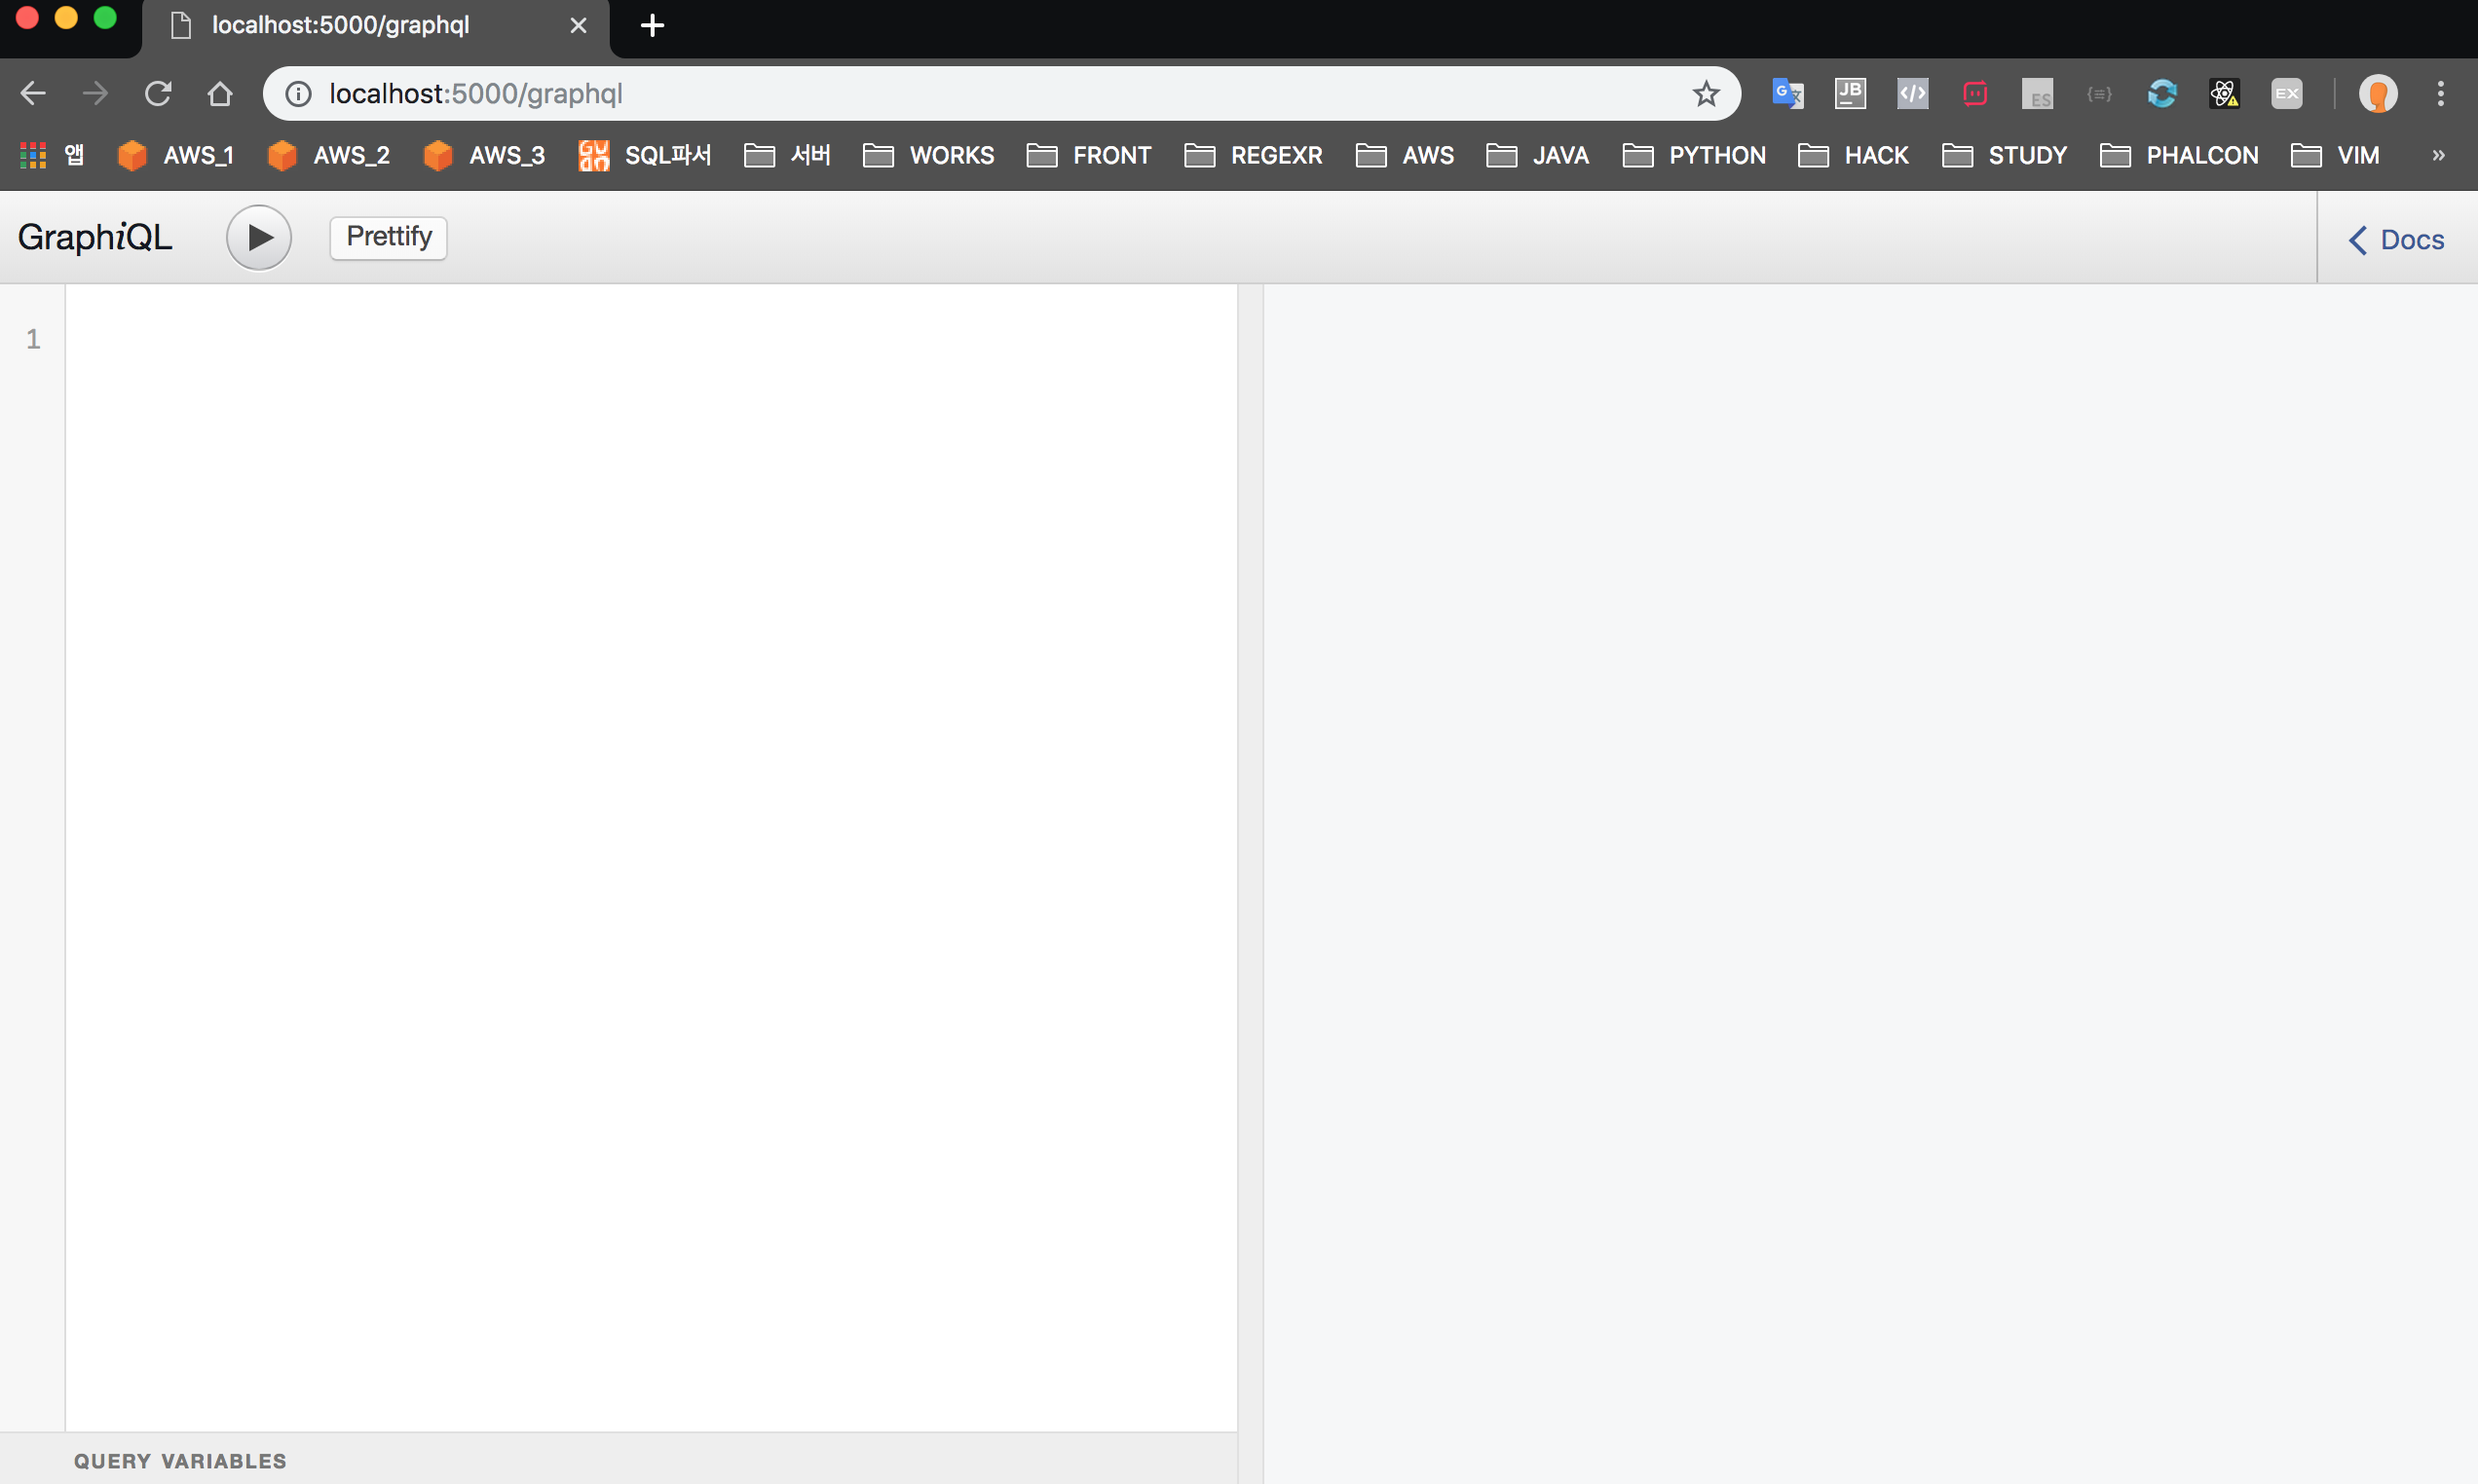
호오.. 쿼리를 테스트 할 수있는 환경이 나타났다. 아까 app.py에서 graphiql=True로 명시하였기 때문이다.
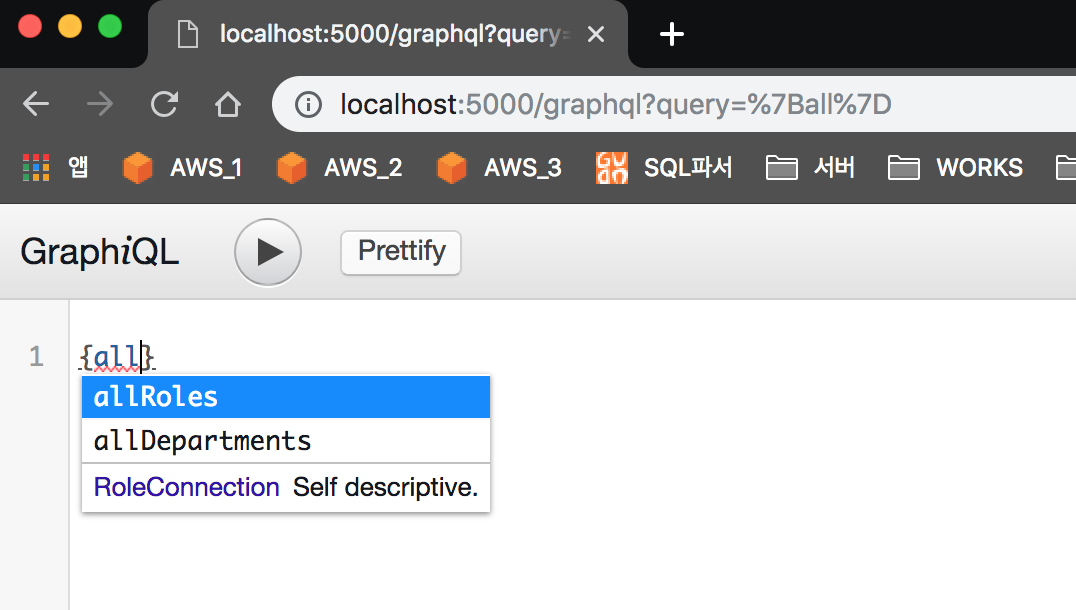
또한, 저 textarea에 키보드를 사용할 때마다, 서버에 GET해오기 때문에, 자동완성도 구현되어있고, URI도 시시각각 변하는걸 확인할 수 있다. 잘만들었다..(감탄)
7) 쿼리를 사용해보자.
- Input
{allRoles { edges { node { id, roleId, name } } }} - Output
{
"data": {
  "allRoles": {
    "edges": [
      {
        "node": {
          "id": "Um9sZTox",
          "roleId": "1",
          "name": "manager"
        }
      },
      {
        "node": {
          "id": "Um9sZToy",
          "roleId": "2",
          "name": "engineer"
        }
      }
    ]
  }
}
}
기가 막힌다. 확인결과 외래키가 걸려있으면, 해당 부분도
node에 명시함으로써, 맵핑된 데이터를 GET해 올수 있다. 여기서find one을 구현해볼까한다.
8) find one
# schema.py > query()
role = graphene.List(Role, role_id=graphene.Int(required=True))
def resolve_role(self, info, **kwargs):
	role_query = Role.get_query(info)
	return role_query.filter(RoleModel.role_id.contains(kwargs.get('role_id')))
나의 schema.py를 참고해보면, 상기 내용이 있다.(git에는 없음) role 이라는 변수로 graphene.List를 구현한 뒤, role_id를 arg로 받았다. def resole_role()과 같이 해당 변수를 맵핑해주면, graphql에서 해당 부분을 호출할 수 있고, 리턴할 내용을 커스텀해줄 수 있다. 만약 변수명이 test라면, def resolve_test()와 같이 함수를 구현해주면 된다. 나는 함수 내용은 다음과 같다. SELECT * FROM role WHERE role_id = args{role_id}. Web에서 작성한 role을 실행시켜보자.
- Input
{role(roleId:1) { id, name, roleId }} - Output
{
"data": {
  "role": [
    {
      "id": "Um9sZTox",
      "name": "manager",
      "roleId": "1"
    }
  ]
}
}
정상적으로 동작한다. 추후에는 좀더 schema.py를 커스텀해보려고 한다. 일단 오늘은 이걸로 마무리하겠다.